Guest Post: How Using Photo Mechanic Speeds Up the High-Volume Workflow of a Large Wedding Photography Studio
How Using Photo Mechanic Speeds Up the High-Volume Workflow of a Large Wedding Photography Studio
Wedding photography is an exciting line of work, full of creative diversity and freedom, as well as many technical challenges. Above all else, however, the most important thing is to safely capture, edit, and deliver quality imagery to each and every bride and groom.
Whether you are just starting out photographing your first weddings, or a veteran with many years’ experience, or even a growing team of multiple photographers, you absolutely must have a workflow that is both secure and efficient. Unfortunately, saving time almost always means cutting corners. So, if a compromise is not an option for either security or quality when it comes to post-producing wedding photos, is it even possible to have a high-speed, high-volume workflow?
Our photography studios, which includes Lin & Jirsa Photography (weddings), Line & Roots, (maternity, newborn, and family), and Rise 8 Media (commercial), has developed a secure, high-speed workflow that achieves a consistently high standard of image quality, for over 50 photographers shooting all around Southern California, the country, and internationally. In this article, we’ll give an in-depth description of the step-by-step workflow that we use, and explain how Photo Mechanic is one of the crucial tools for saving many total hours of work every single day.
Step 1.) Download & Backup
The start of a high-volume workflow is the same as any other: “dump” (copy) all photos captured off of the memory cards, (usually from three different photographers’ cameras, in our case) and into one single “ORIGINAL RAWS” folder. Then, verify the file count of each and every memory card, and confirm at least the first and last actual file name. For one final level of safety, glance through the entire set of images to make sure the whole wedding day is there!
Side note: our studio photographers all use cameras with dual memory card slots. The primary card slot always contains a memory card which is capacious enough to hold an entire wedding, making it convenient for download, while the secondary card slot contains smaller cards that get changed out during the day. This way, by the time the reception rolls around, all ceremony and portrait images are already in the photographer’s pocket, instead of just in the camera. Because, unfortunately, dual card slots are useless if your camera is ever stolen!
The entire folder of images is backed up to a server (or a N.A.S. device) as well as an “ordinary” USB external drive. Only when the external hard drive containing the entire wedding is taken off-site, are the memory cards then formatted.
 Step 2.) Editor Assignment
From here, our studio’s workflow gets a little more complicated than that of a solo wedding photographer who edits all of their own photos. In a studio with more shooters than a single post-producer could possibly handle, 5-10 full-time and part-time post-producers share the workload.
A post-production manager assigns each wedding from the previous weekend to a post-producer, and each post-producer transfers their assigned wedding from the server to their computer.
 Step 3.) Photo Mechanic Culling
The culling process is the first of two major points in the workflow where speed is absolutely essential. The more you shoot, the longer it will take you to sort through the “keepers” and the “rejects” before you can even begin to think of color-correcting the good images.
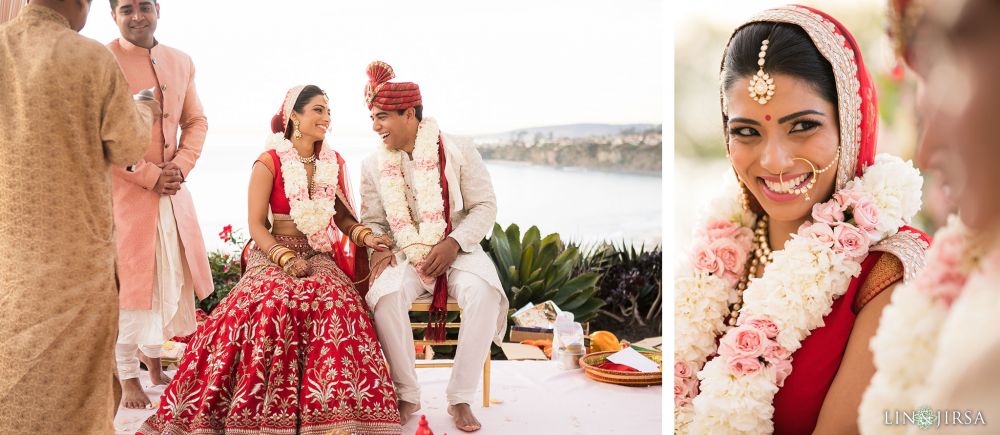
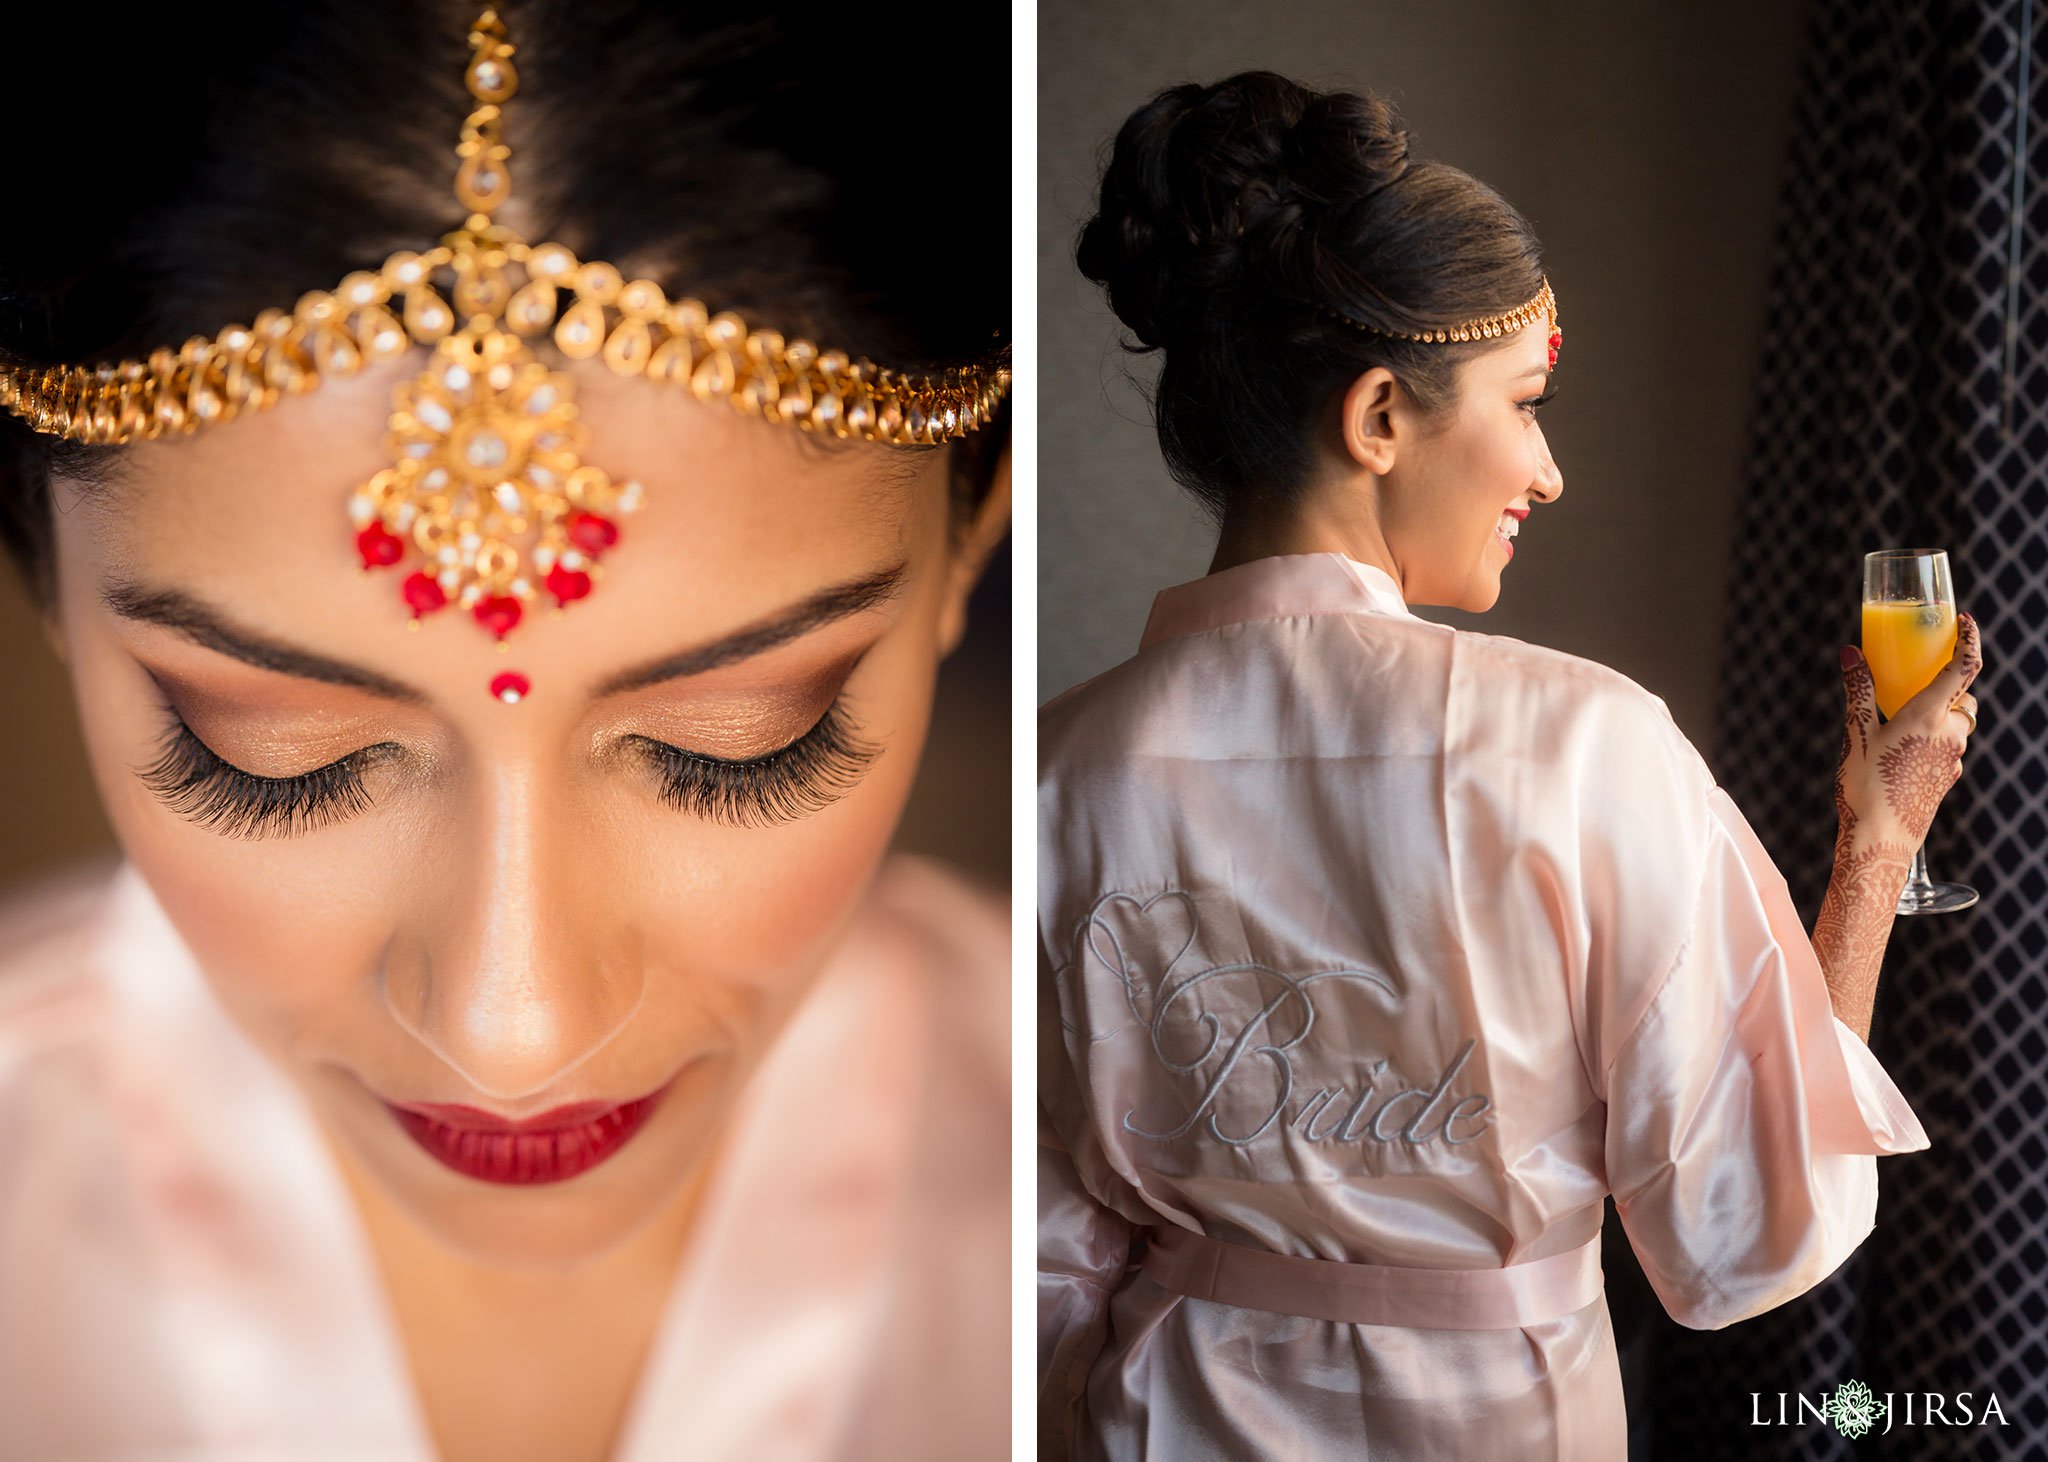
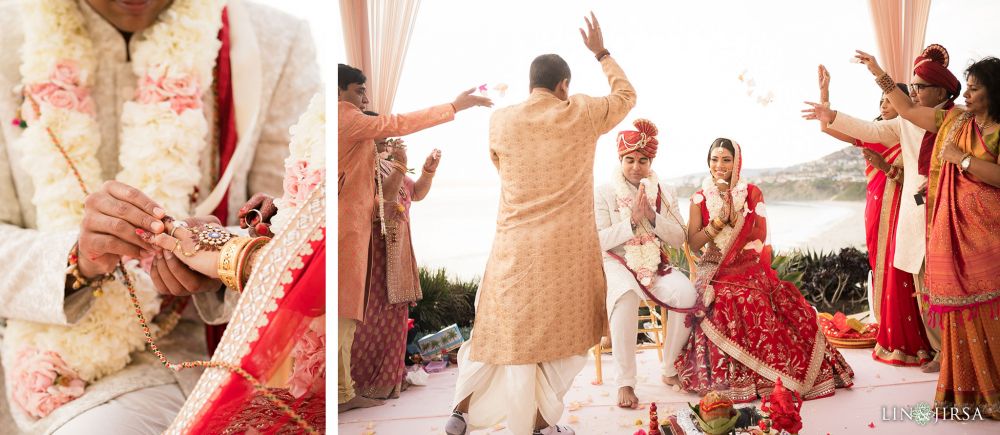
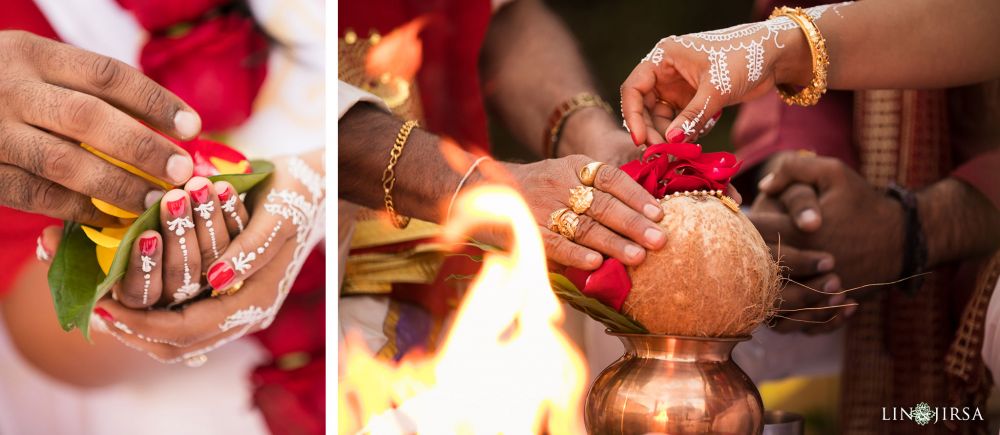
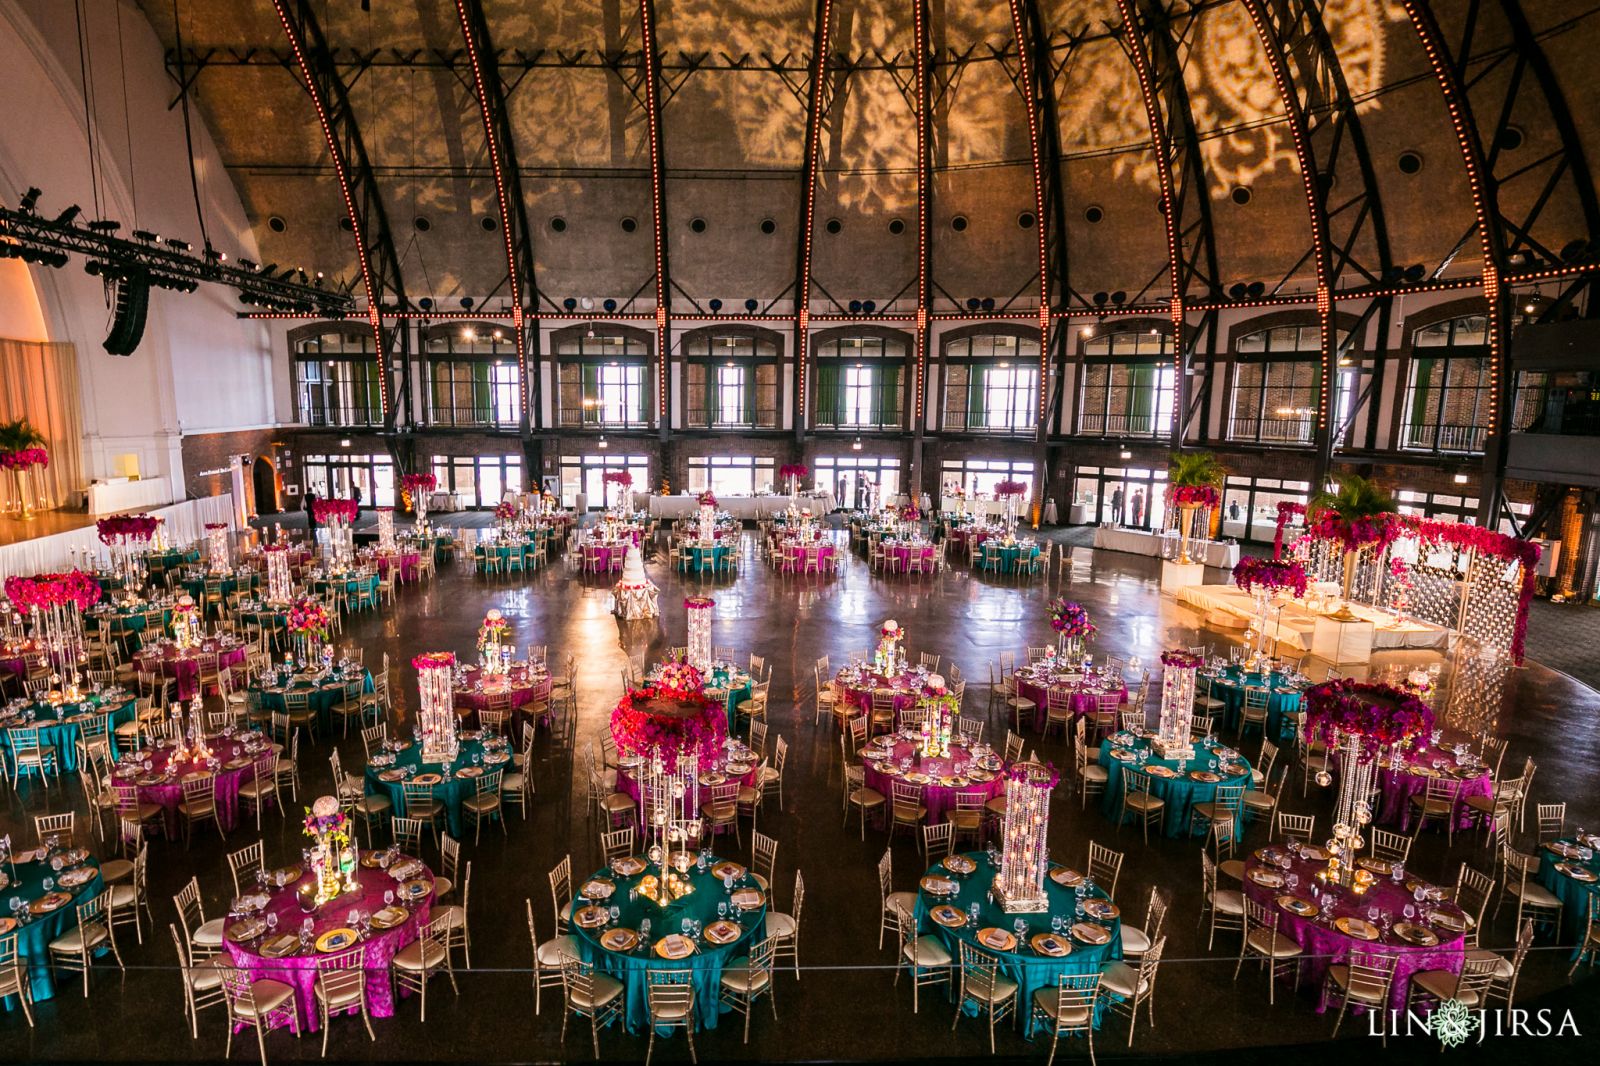
You may ask, just how many photos can a large wedding photography studio capture in a single week? For simple Western wedding traditions, a team of multiple photographers shooting different weddings in one weekend might only produce a few thousand photos total. However, our studio specializes in all manner of cultural traditions, and South Asian (Hindu, Sikh, etc.) weddings can often be 3-4 days long, with the main wedding day lasting 12-16 hours or more!
So, in a single weekend, a team of photographers covering just a few Indian weddings might come home with 30,000-40,000 total photos.
At this type of volume, every extra second you spend looking at an individual photo is inevitably multiplied into hours or even days of extra work.

To cull hundreds (or even thousands) of photos per hour, simply put, it is ill-advised to attempt to actually read the raw image data of every single photo. Even if it only took an extra 2 seconds per image for a full raw preview to load, that would still add up to about 16-22 hours of extra culling time, for 30-40K images. For this reason, our studio uses Photo Mechanic to cull raw photos.
Photo Mechanic reads the built-in JPG preview file of a raw photo, instead of the raw image data itself. Because no matter how screaming-fast a computer is, it will always read JPG preview files much faster than actual raw image data.
Thankfully, in Photo Mechanic on a high-powered computer, the load time for a raw photo will seem literally instantaneous. Even zooming to 100% to check focus will only take a fraction of a second. Mind you, that is without having to pre-render a folder of 100% previews, as Adobe Lightroom requires. With Photo Mechanic, you literally open the folder of photos, and start culling!
At our studio, the lead photographer’s images are culled first, then the 2nd shooter, and then the assistant’s images.
TIP: It is also helpful to keyword all photos so that things like “detail photos” or “bridal portraits” can be easily found later for sharing with other wedding vendors, etc. This can all be done using the IPTC Stationery Pad in Photo Mechanic.
 Step 4.) Color-Correction
Color-correction is the second step where time, quite literally, is money. Every extra second that is spent mulling over an image’s exposure or white balance will add up to many, many hours at the end of the week or month. (If you thought an extra two seconds per image added up to a lot, do the math on ~30,000 images and the difference between 15 or 30 seconds per image!)
Once the “keepers” (and “rejects” if desired) are brought into Adobe Lightroom, it is important to work productively. Our studio policy is, most raw images should be considered fully edited in just 3-5 “clicks” or slider tweaks. Sure, a handful of images will require more work, but even if you have just 1,000 or so images to color correct in a week, instead of tens of thousands, this rule-of-thumb can save you many hours each month.
A huge part of achieving this goal depends on starting with the right foundation of raw edits. If you’ve ever noticed how beautiful your JPG preview images looked on the back of your camera, (and in Photo Mechanic) and then felt disappointed as you watched that preview vanish and be superseded by a duller, muted raw preview in Lightroom, you’re not alone!
Fortunately, it is relatively easy to apply an appropriate set of base adjustments to images in large batches, to best match the portion of the day. Our studio uses the SLR Lounge Lightroom Presets to apply separate presets to groups of images, such as venue details, bridal portraits, general daytime/ceremony candids, and dark reception images. This way, before you even start color-correcting, all your bridal portraits will be soft and flattering of skin, while all your detail photos will be a bit more vibrant and punchy, etc.
Then, before actual color-correction, Lightroom previews are rendered.
Tip: Our post-producers use Lightroom’s “Smart Previews” option because this seems to currently offer the best balance of editing speed when working in the Develop Module. Plus, it also makes the photos editable from anywhere, if the .LRCAT file and its Smart Previews are transferred to a personal laptop or external hard drive.
Each post-producer color-corrects all of the keepers, to a very high standard that includes exposure, white balance, crop, plus other “global” adjustments and/or a graduated or radial filter where necessary. In some cases, (for the select few 5-star images that might go into an album, or onto social media etc.) additional edits may be performed such as cloning out any significant distraction, or basic blemish retouching. (Often accomplished all within Lightroom, and only going into Photoshop for very advanced work.)
Step 5.) Review, Deliver, & Archive
When finished, each post-producer has their work reviewed by the post-production manager. For quickly accomplishing this, they only transfer the Lightroom .LRCAT file and its Smart Previews back onto the server, in a “Review Inbox” folder, where the post-production manager can access the catalog, make basic changes using the smart previews and add any notes as keywords, and then return the Catalog to the post-producer.
The post-producer makes any necessary changes and then exports the entire set of deliverable files to JPG, which are delivered to the client online via a private gallery hosted by SmugMug. An additional select few (5-star) images are also exported in low-resolution with a watermark, for social media use.
Last but not least, one final option for saving hard drive space, in the long run, is to export the rejected raw files as medium-quality JPG as well and then delete all copies of the rejected raw files completely, a month or two after the client delivery.
Conclusion
Hopefully, this overview of a high-volume wedding photography studio workflow can help other wedding or event photographers who are concerned about both time management and overall safety when they think of possibly scaling up their workload. This workflow has been successful for our studio when shooting weddings as well as other events, and it may also be of use to photographers shooting large sporting events such as marathons or other races/games, corporate events or conventions, and even time-lapse photography. In any case, if you ever find yourself with thousands of photos to process and deliver, ensure that your workflow is efficient, secure, and consistently high quality!
This article was written by Matthew Saville and Pye Jirsa of SLR Lounge & Lin and Jirsa.
Did you learn any new tips from this post? Got any tips of your own to add? Let us know on Facebook and Twitter and follow us for more tips every #WorkflowWednesday.
Haven’t tried Photo Mechanic yet? Sign up for a free 30-day trial here!